Prerequisites
- Azure Account: Ensure you have an Azure account. If you haven’t already, you can sign up for free at Azure.
- Azure Subscription: Have an Azure Subscription where you can perform the actions below. Create a subscription by following the instructions here.
- Azure Cloud Shell Enabled (optional): This guide assumes you’ll be running commands in an Azure Cloud Shell. You can also run the setup from your local machine.
- Instructions for enabling Azure Cloud Shell can be found here
Create a Service Principal
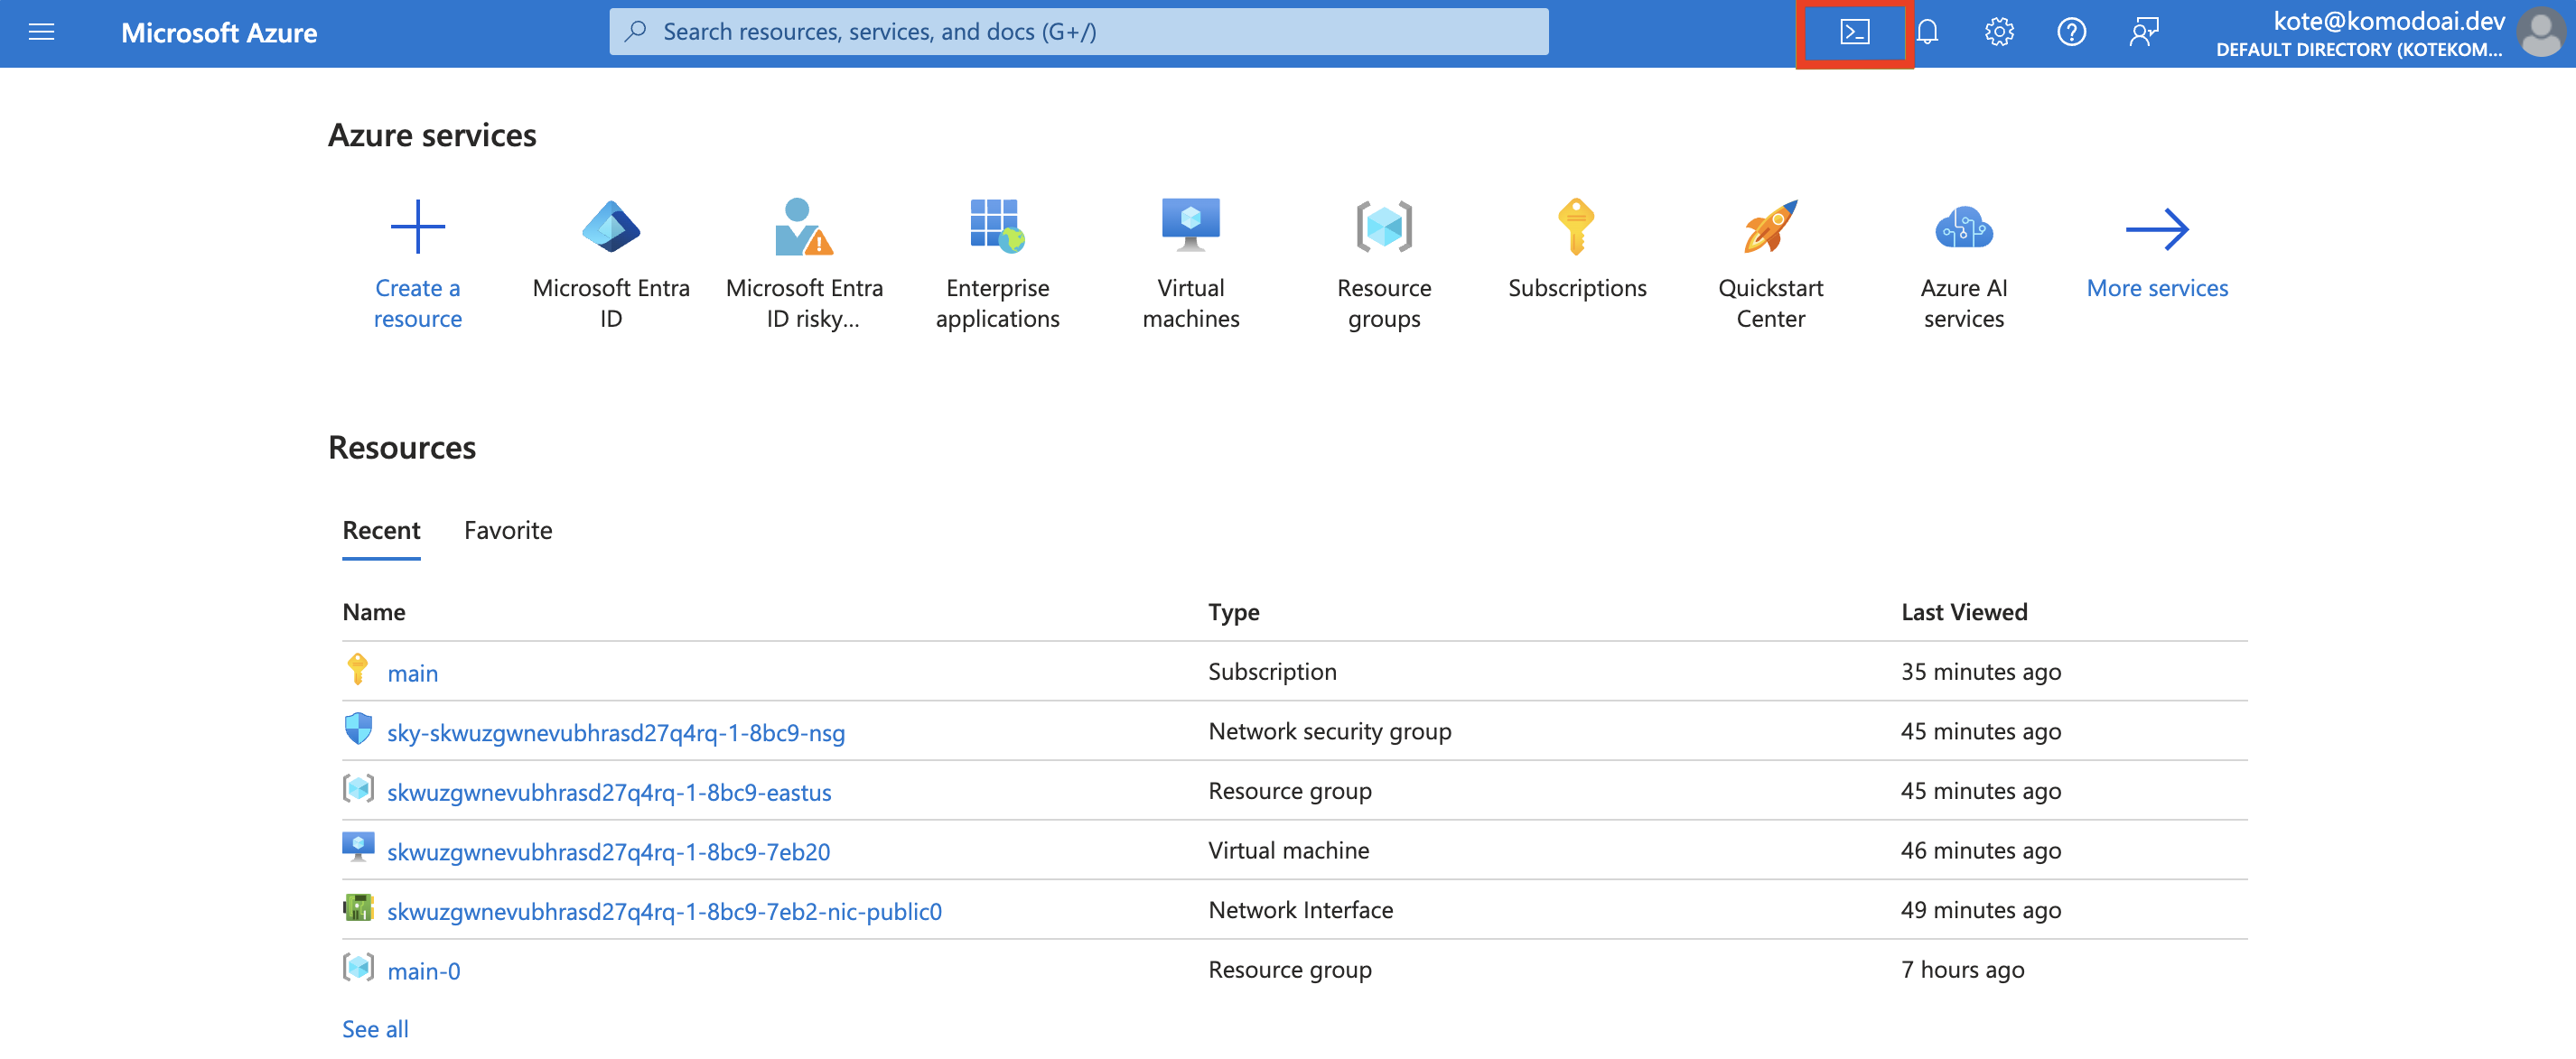
- Log in to the Azure Portal and start Cloud Shell from the top navigation of the Azure Portal
- Create a Service Principal by running the script below
What permissions will the service principal have?
What permissions will the service principal have?
The service principal will be assigned the “Owner” role, granting it full
permissions on resources in the current subscription. This level of access is
typically necessary for broad management tasks. However, if your specific use
case requires more tailored and scoped down permissions, please let us know on
Discord or via email hello@komodoai.dev! :)
- Copy the credentials and save them as a JSON file
Upload the Service Principal
- In the Komodo console, navigate to the Settings page
-
Click
Connectin the Azure section and upload the Service Principal credentials file.
FAQ
What is a Service Principal in Azure?
What is a Service Principal in Azure?
A service principal in Azure is a security identity used by applications, services, and automation tools to access specific Azure resources with defined permissions. It acts like a user identity but is specifically created for non-human usage.