Prerequisites
- Google Cloud Account: Ensure you have a Google Cloud account. If you haven’t already, you can sign up for free at Google Cloud Console.
- GCP Project: Have a GCP project created where you can perform the actions described below. Create a project here if needed.
- Compute Engine Enabled: Make sure that Compute Engine is enabled in your GCP project. If it is not enabled, you can do so here.
Create a Service Account
- Log in to the Google Cloud Console and select your project form the drop-down menu at the top of the page.
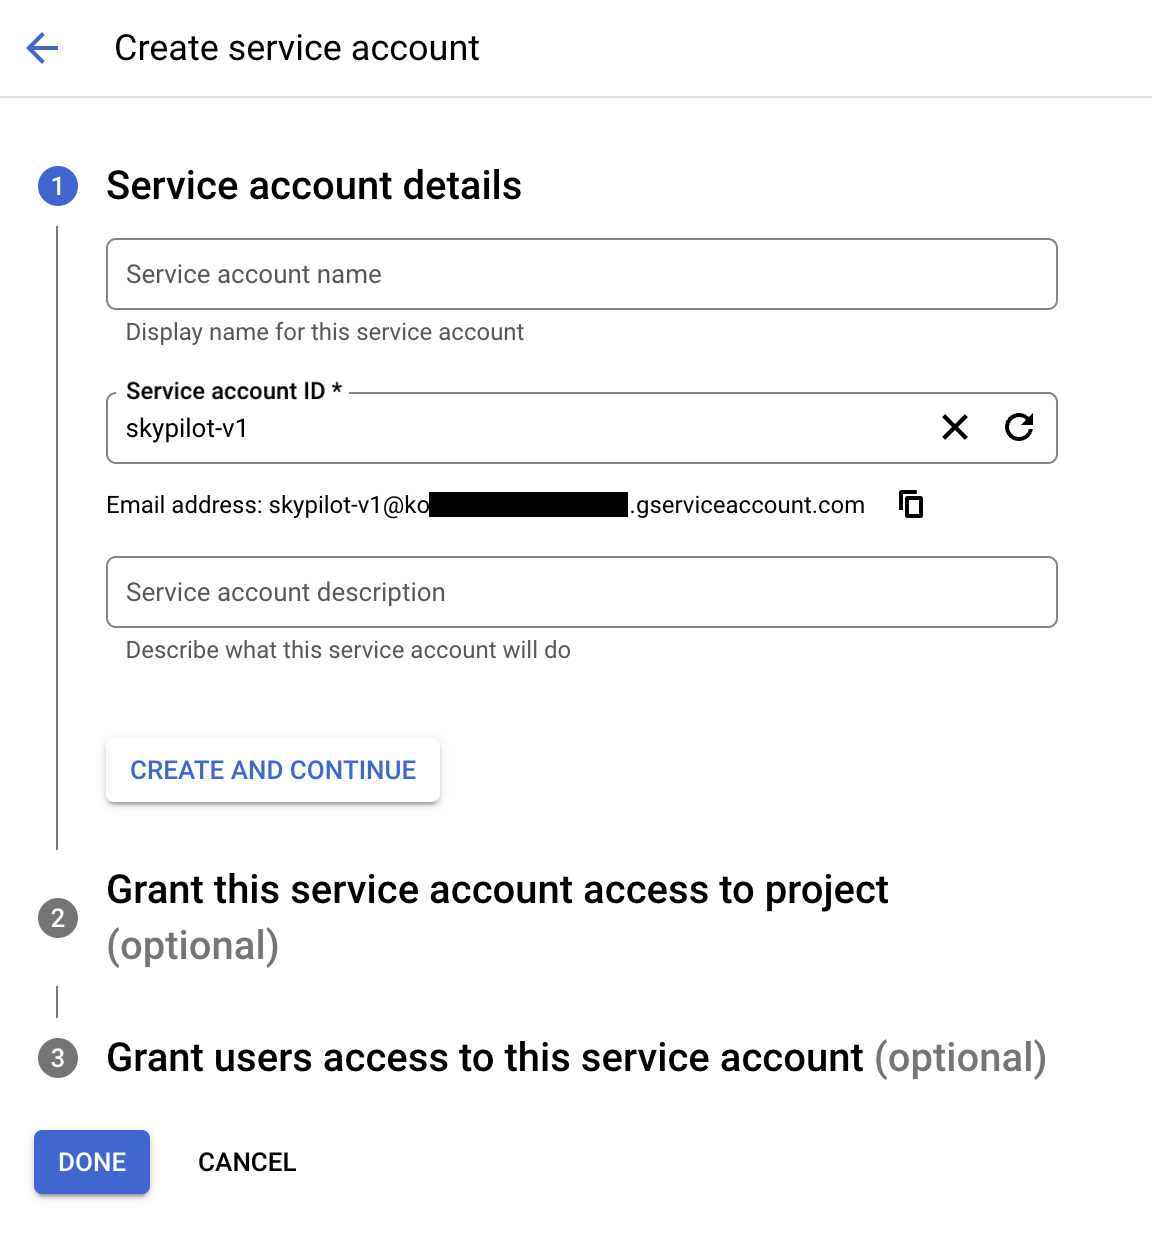
Service Accounts tab on the IAM & Admin console, and click on CREATE SERVICE ACCOUNT.

- Set the service account id to
skypilot-v1and click CREATE AND CONTINUE.
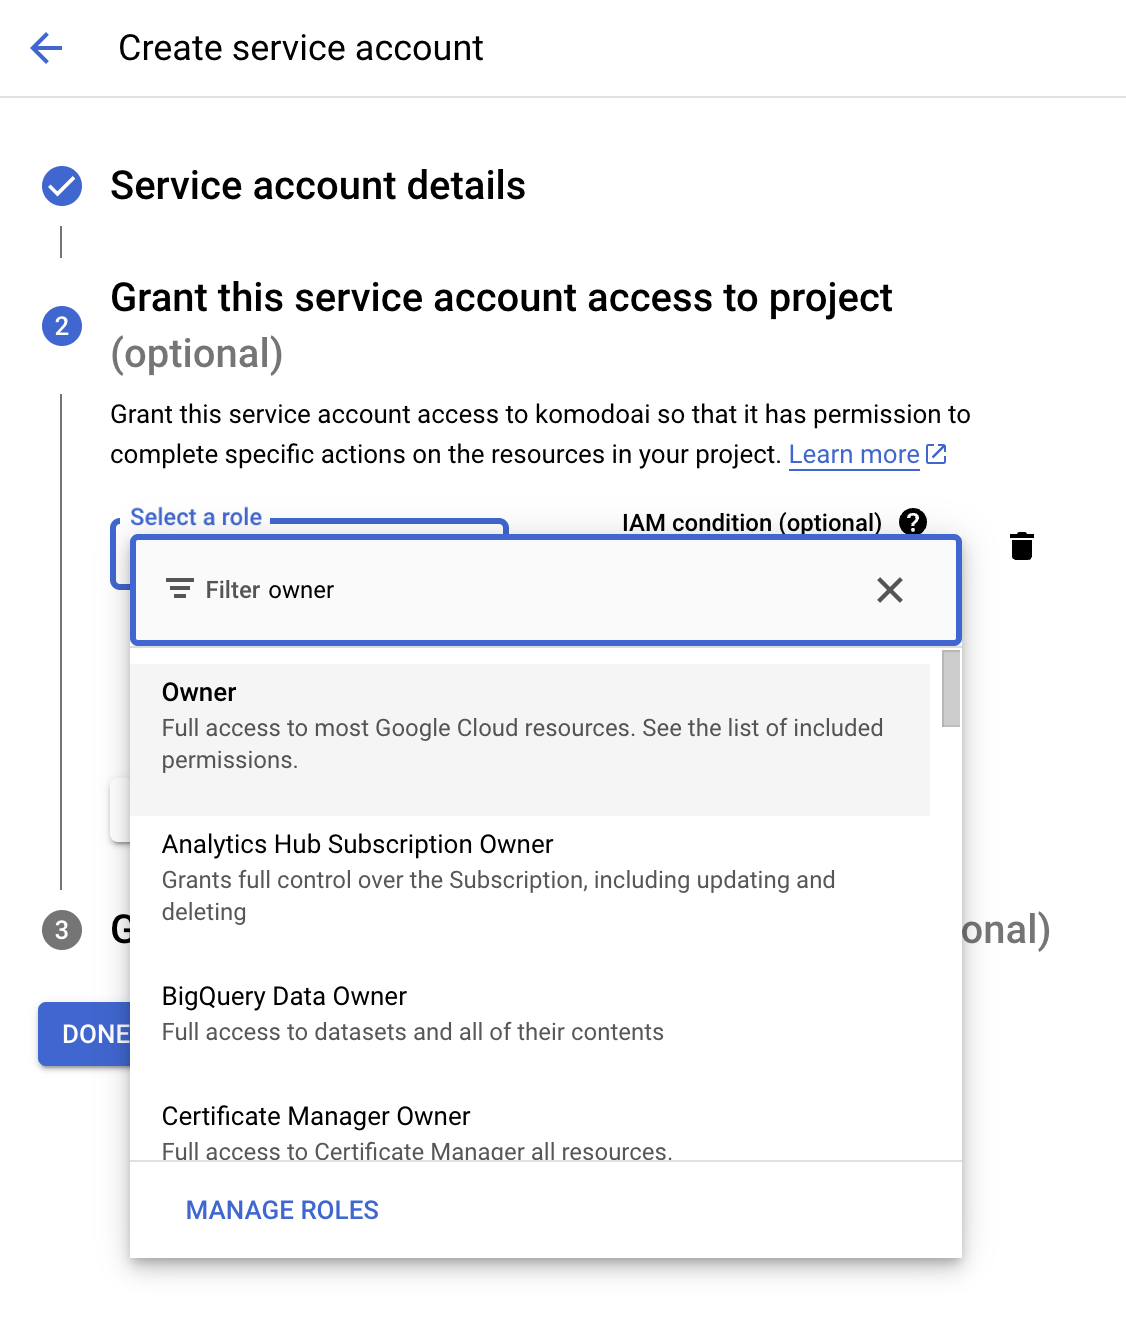
- Grant the Service Account an Owner role
Create a Key for the Service Account
- In
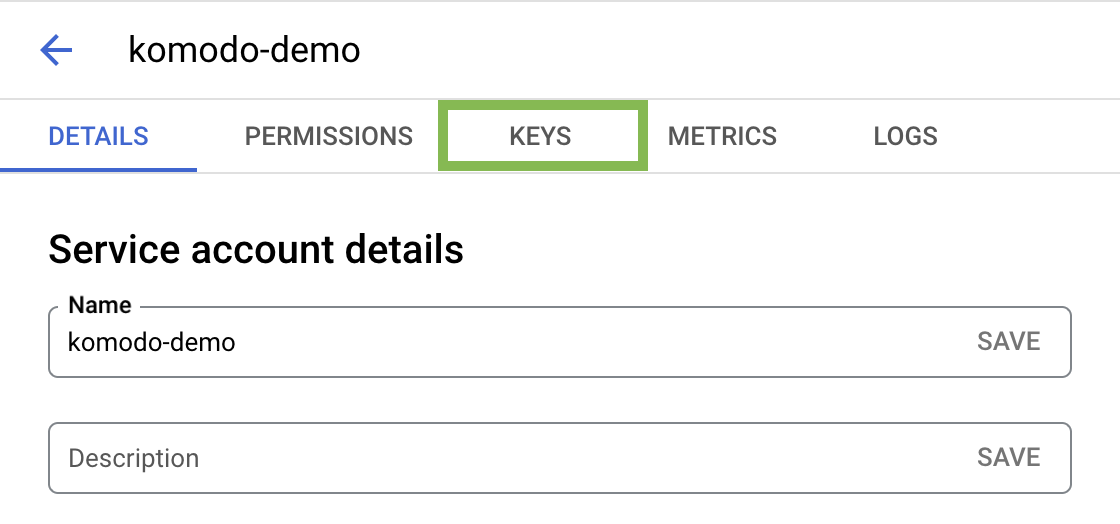
Service Accountsyou will see your newly-created Service Account. Click on it and navigate to the KEYS tab.
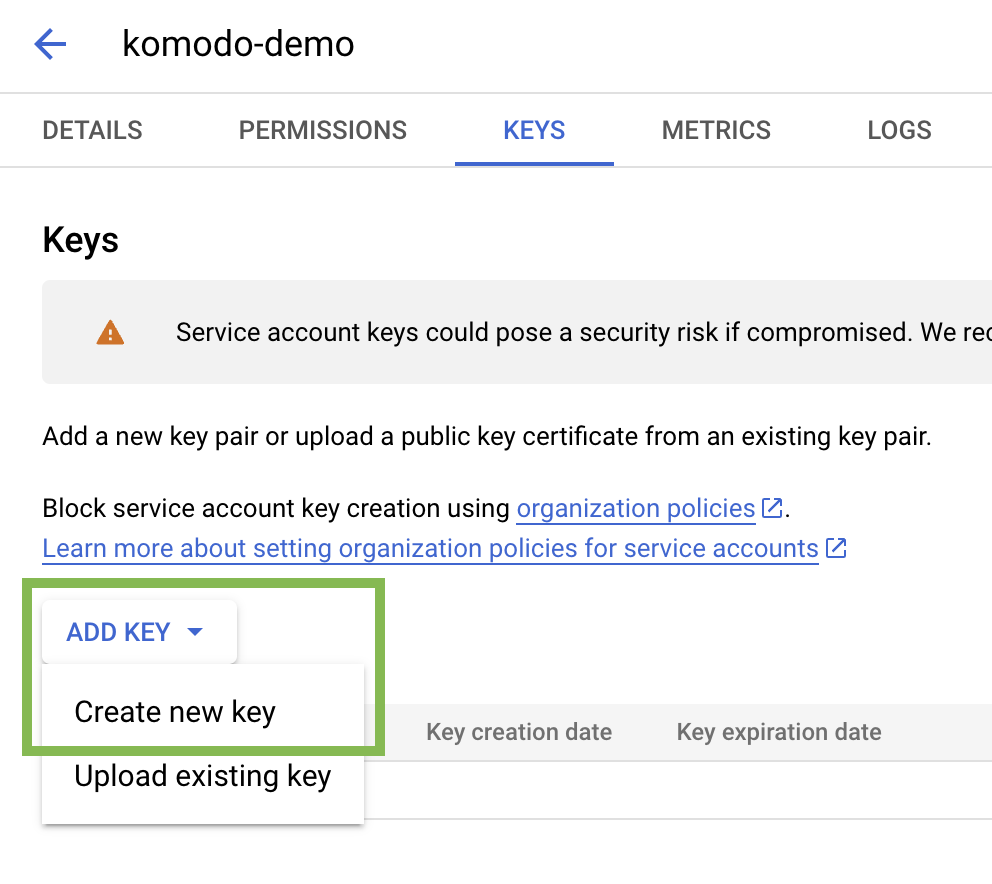
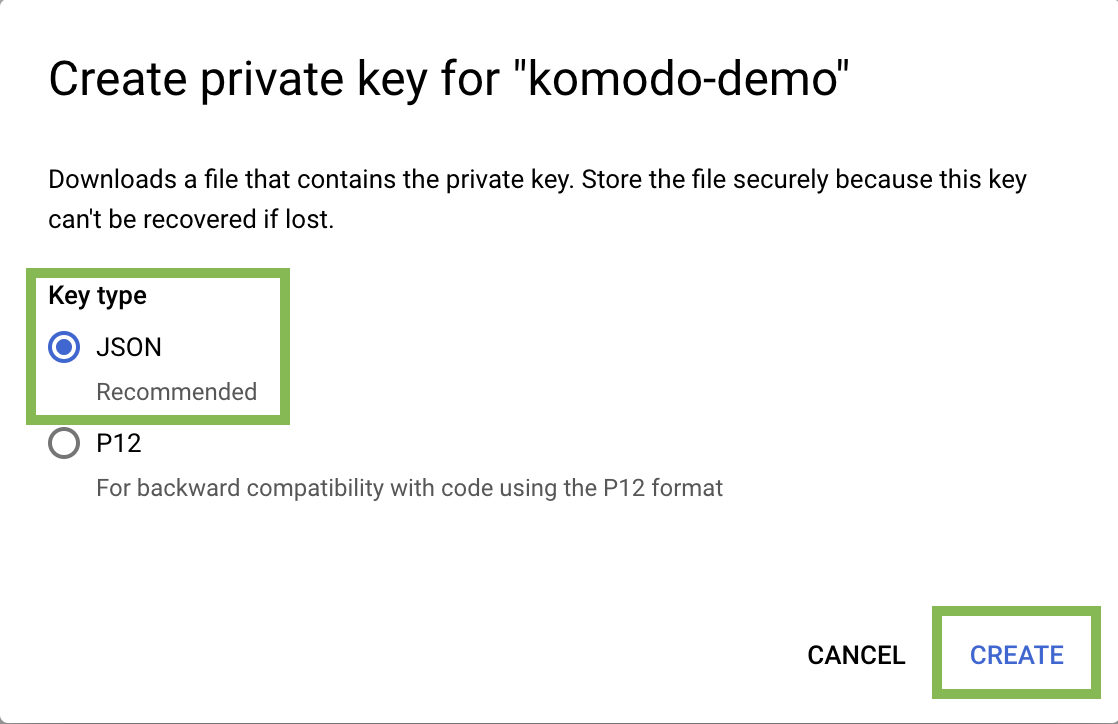
- Click on ADD KEY and then Create new key
- Choose JSON as the key type and click Create
Upload the created Service Account key to Komodo
- In the Komodo console, navigate to the Settings page
-
Click
Connectin the GCP section and upload the Service Account key file.
FAQ
What is a Service Account?
What is a Service Account?
A service account is a non-personal Google Cloud account used by applications
or servers to authenticate and perform automated tasks with specific
permissions.
What permissions will the service account have?
What permissions will the service account have?
The service account will be assigned the “Owner” role, granting it full
permissions across all resources in the project. This level of access is
typically necessary for broad management tasks. However, if your specific use
case requires more tailored permissions, please let us know on
Discord! :)